Table of Contents >> Show >> Hide
- Before You Start: The 5-Minute Paint Game Plan
- The 21 Wall Painting Ideas
- 1) The One-Wall Accent (But Make It Strategic)
- 2) Two-Tone Walls for Instant Architecture
- 3) Color-Blocked “Cut Line” at About Door-Height
- 4) Painted Arch to Frame a Focal Spot
- 5) Reverse Arch (Negative Space) for a Subtle Twist
- 6) Vertical Stripes for Height (and Instant Energy)
- 7) Horizontal Stripes for a Wider Look
- 8) Wide Stripe “Band” Around the Room
- 9) Geometric Color Blocking (Triangles, Angles, Peaks)
- 10) Checkerboard Paint for Retro Cool
- 11) Painted “Headboard” Rectangle (The Rental MVP)
- 12) Scallops or Half-Moons for Soft, Modern Whimsy
- 13) A Painted “Rug” Panel Behind a Console or Dining Table
- 14) Ombré / Gradient Wall for a Soft Statement
- 15) Painted Mural (Abstract Shapes, Landscape, or Line Art)
- 16) Stenciled Pattern for Wallpaper EnergyWithout Wallpaper Drama
- 17) Sponge Painting for Depth and “Soft Movement”
- 18) Rag Rolling for a Handmade, Old-World Finish
- 19) Color Drenching (Walls, Trim, and Sometimes the Ceiling)
- 20) Color Capping (Tonal Gradient Toward the Ceiling)
- 21) Painted Ceiling Extension (The “Fifth Wall” Glow-Up)
- Choosing Colors That Actually Work in Real Rooms
- Finish Matters: A Quick Sheen Cheat Sheet
- Extra: Experience-Based Lessons That Save Time (and Sanity)
- Wrap-Up
Blank walls are basically the “loading screen” of home decor: functional, but nobody’s excited to stare at them for hours. The good news? Paint is one of the fastest ways to make a room feel intentionalwithout adopting a new personality called “person who installs wainscoting on weekends.”
Below are 21 wall painting ideas that work in real homes (rental-friendly options included), plus practical tips on finishes, prep, and how to avoid the classic DIY tragedy: “Why does my wall look… streaky in this one specific corner?”
Before You Start: The 5-Minute Paint Game Plan
- Pick the right sheen: Higher sheens (satin/semi-gloss) clean easier; flatter finishes hide bumps better.
- Prep beats regret: Clean, patch, and sand where needed so paint actually bonds and looks smooth.
- Sample like you mean it: Paint a few large swatches and check them morning, noon, and “why is it orange at night?”
- Work in sections: Keep a “wet edge” so you don’t get lap marks.
- Make peace with tape: Tape can be your best friendif you burnish edges and remove it at the right time.
The 21 Wall Painting Ideas
1) The One-Wall Accent (But Make It Strategic)
Classic, for a reason. Choose the wall that naturally grabs attentionbehind the bed, the fireplace wall, or the first wall you see when entering. Use the accent color to anchor furniture and art so it looks designed, not accidental.
2) Two-Tone Walls for Instant Architecture
Paint the bottom portion a deeper shade and the top a lighter one (or vice versa) to create “built-in” structure. It’s a sneaky way to add dimension without adding actual trimor a second mortgage for millwork.
3) Color-Blocked “Cut Line” at About Door-Height
A crisp horizontal break can visually widen a room and make ceilings feel taller, depending on placement. A popular approach is to set the break around the upper wall zone (often near ~7 feet) for a modern gallery vibe.
4) Painted Arch to Frame a Focal Spot
A painted arch behind a bed, desk, or reading chair creates a built-in “moment” without hanging a single frame. Keep it soft with a muted hue, or go bold and treat it like a headboard you never have to dust.
5) Reverse Arch (Negative Space) for a Subtle Twist
Instead of painting the arch itself, paint the wall and leave the arch area as the original color. It’s graphic, modern, and a clever option when you want impact without adding another color to the room.
6) Vertical Stripes for Height (and Instant Energy)
Vertical stripes pull the eye up, which is great for low ceilings or small rooms. Go tone-on-tone for a grown-up look, or use higher contrast if you want your wall to say, “Yes, I am the personality here.”
7) Horizontal Stripes for a Wider Look
Horizontal stripes can visually stretch narrow rooms and hallways. Keep stripe widths consistent for a clean finishor mix widths for a playful, modern “custom wallpaper” effect.
8) Wide Stripe “Band” Around the Room
Paint a single thick band that wraps the room (think chair-rail height or higher). It connects walls, creates a gallery-like line for artwork, and makes the space feel more intentionallike it’s wearing a belt.
9) Geometric Color Blocking (Triangles, Angles, Peaks)
Use painter’s tape to create sharp triangles, diagonal splits, or mountain-like peaks. This works especially well in playrooms, offices, and entryways where you want movement without cluttering surfaces.
10) Checkerboard Paint for Retro Cool
Checkerboard isn’t just for floors. A wall version adds playful rhythm and works best in small doseslike a bar nook, laundry room, or behind open shelving. Keep colors slightly muted if you want “chic,” not “circus.”
11) Painted “Headboard” Rectangle (The Rental MVP)
Paint a big rectangle (or rounded rectangle) behind the bed to mimic an upholstered headboard. It’s cheap, reversible, and instantly makes the bed look centered and styledeven if your nightstand is technically a stack of books.
12) Scallops or Half-Moons for Soft, Modern Whimsy
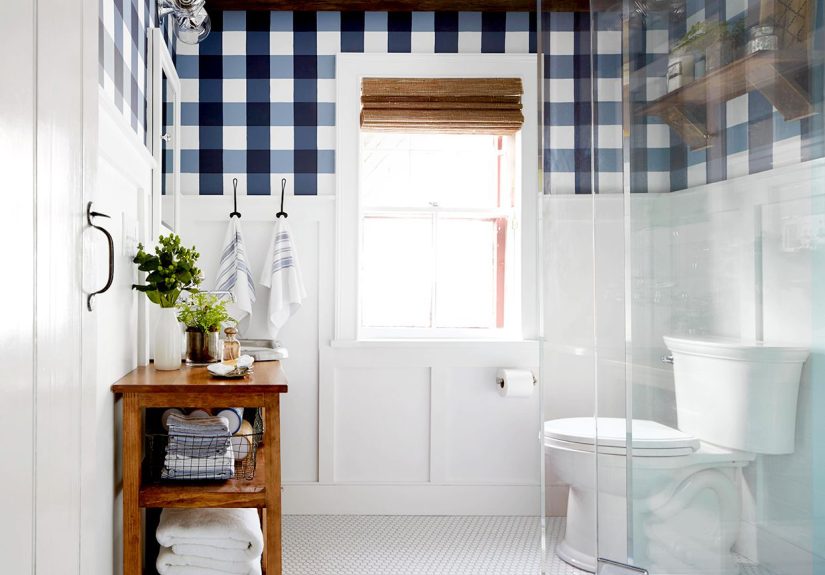
Scalloped borders and half-moon motifs add texture without texture. Perfect for nurseries, bathrooms, and creative studiosespecially when you keep the palette tight and the shapes consistent.
13) A Painted “Rug” Panel Behind a Console or Dining Table
Outline a large rectangle or arch-shaped panel behind furniture to define zones in open layouts. This is especially handy in apartments where the living room, dining room, and “place where packages go to live” share one space.
14) Ombré / Gradient Wall for a Soft Statement
An ombré effect transitions from one shade to another for a dreamy, airy feel. It’s stunning in bedrooms and creative spaces. Use closely related tones for a calm vibe; save high contrast for the brave.
15) Painted Mural (Abstract Shapes, Landscape, or Line Art)
Murals don’t have to mean “I studied in Florence.” Simple line art, big abstract blobs, or a minimalist horizon can look custom and upscale. Start with a sketch plan and keep your palette limited so it doesn’t fight the furniture.
16) Stenciled Pattern for Wallpaper EnergyWithout Wallpaper Drama
Stencils deliver repeat pattern (the magic of wallpaper) while letting you choose exact colors and scale. Use it on one wall or in a small room like a powder bath for maximum payoff and minimal time on a ladder.
17) Sponge Painting for Depth and “Soft Movement”
Sponge painting adds layered texture and hides minor wall imperfections. It works best when you keep contrast moderatethink two or three close shadesso the wall reads rich, not busy.
18) Rag Rolling for a Handmade, Old-World Finish
Rag rolling creates a soft, mottled look that can mimic aged plaster or a fabric-like texture. It’s a great option for dining rooms, powder rooms, or anywhere you want depth without committing to real plaster work.
19) Color Drenching (Walls, Trim, and Sometimes the Ceiling)
Color drenching means painting multiple surfaces the same color (or nearly the same) to reduce visual breaks and make the space feel cohesive. It can also make small rooms feel bigger by smoothing out contrastespecially in offices, bedrooms, and snug hallways.
20) Color Capping (Tonal Gradient Toward the Ceiling)
Color capping uses two or three shades from the same color familylighter on walls, deeper on trim, and darkest on the ceiling (or a reversed version). It draws the eye upward and adds drama without harsh contrast. Great for rooms that need “wow” but not chaos.
21) Painted Ceiling Extension (The “Fifth Wall” Glow-Up)
Don’t stop at the top edge. Carry wall color a few inches onto the ceiling, or paint the entire ceiling a complementary shade. This can visually reshape the room, make it cozier, and turn overhead space into a design feature instead of forgotten real estate.
Choosing Colors That Actually Work in Real Rooms
The internet loves bold paintuntil the sun hits it at 4:07 p.m. and your “soft clay” becomes “spicy nacho.” To keep the final result feeling intentional, start with your non-negotiables: flooring undertones, major furniture pieces, and the light direction. North-facing rooms often skew cooler; south-facing rooms can warm everything up.
If your walls get scuffed easily (kids, pets, chairs that “accidentally” bump things), mid-tone colors tend to hide wear better than extreme darks or bright whites. Pair that with a cleanable sheen, and you’ll spend less time doing touch-ups and more time pretending you always meant for your home to look this good.
Finish Matters: A Quick Sheen Cheat Sheet
Paint sheen isn’t just about shineit’s about durability and how much your wall’s texture will show. In general, flatter finishes help disguise imperfections, while satin and semi-gloss are easier to wipe down and handle moisture better. For bathrooms and kitchens, durability often wins; for bedrooms and low-traffic spaces, softer sheens can look more relaxed.
Extra: Experience-Based Lessons That Save Time (and Sanity)
Let’s talk about what typically happens when people try wall painting ideas in the real worldmeaning: with furniture shoved into the center of the room, a playlist that runs out at the worst moment, and at least one mysterious sticky spot on the wall that you swear wasn’t there yesterday. These are the lessons DIYers and pros repeat because they’re earned the hard way.
Lesson #1: Prep is not optionalit’s the whole game. Most “paint fails” aren’t actually paint failures; they’re wall-prep failures. Cleaning matters because paint needs a surface it can grip. Patch and sand because texture doesn’t disappear under paintit gets a spotlight. If you’re painting over glossy areas, a light sanding step can help the new coat bond better. This is especially important in high-touch zones like around switches, behind dining chairs, and near doors where oils and grime build up.
Lesson #2: The right tools are cheaper than redoing the room. A quality roller cover and a decent angled brush can change the entire outcome. People often discover that the “mystery fuzz” in their finish is lint from a bargain roller. Microfiber roller covers and the right nap length for smooth walls are common go-tos for a smoother result. And yes, an extension pole is worth itfewer ladder trips, more even pressure, and your shoulders will send thank-you notes.
Lesson #3: Keep a wet edge or meet your new nemesis: lap marks. The streaky bands that show up after drying usually happen when you roll over paint that’s already started to set. The fix is workflow: paint in manageable sections, overlap slightly into still-wet paint, and don’t wander off mid-wall to answer a text. If you’re doing stripes or color blocking, plan the sequence so you’re not letting one edge fully cure before you blend into it.
Lesson #4: Tape is powerfulif you treat it like a system, not a sticker. For geometric walls and crisp lines, press tape down firmly (especially at edges), paint away from the tape line when possible, and pull tape off at the right time (often when paint is still slightly wet) to reduce peeling. If you’ve ever removed tape and taken a little souvenir strip of paint with it, you already know why timing matters.
Lesson #5: Samples are not a luxurythey’re a reality check. Paint colors can shift wildly depending on lighting, time of day, and what’s nearby (wood tones, rugs, even a bright sofa). Many people find that a color they loved on a screen feels too bright in direct sun or too gray on a cloudy day. Testing larger swatches in multiple spots (including near corners and windows) prevents the “I guess we live in a mint chip ice cream shop now” surprise.
Lesson #6: Sheen choice changes the vibe and the maintenance. In high-traffic areas, a more durable sheen can be a lifesaver because it wipes clean easier. But glossier finishes can highlight bumps and roller texture, especially with raking light. The sweet spot for many homes is a wall finish that balances washability with a soft lookthen stepping up durability for bathrooms, laundry rooms, and kid zones.
Lesson #7: Your idea is only as good as your stopping point. The most polished DIY walls usually have a deliberate “end”: a crisp line, a corner, a trim edge, or a shape that frames something (like a bed or console). When paint designs end randomly, they can feel unfinished. So if you’re trying arches, two-tone walls, or bands, anchor the shape to furniture or architectural features. Your wall will look designed on purposewhich is the entire point.
Wrap-Up
If you’re stuck, start small: a painted arch, a two-tone wall, or a single accent with a well-chosen sheen can deliver huge impact without turning your weekend into a full-season home makeover series. Paint is flexible, forgiving (mostly), and powerfulespecially when you use it to guide the eye, define zones, and support the way you actually live in the space.


