Table of Contents >> Show >> Hide
- Why Strapless Bras Slip (It’s Not Always Your Fault)
- Way #1: Nail the Fit and the Bra’s “Architecture”
- Way #2: Prep Your Skin and Place the Bra Correctly
- Way #3: Use Smart Stay-Put Helpers (Tape, Grippers, and Upgrades)
- Quick Troubleshooting: If It’s Still Slipping
- Care Tips That Keep Strapless Bras Grippy and Supportive
- Real-Life Experiences: What People Say Works (and What They Wish They’d Known)
- Conclusion
Strapless bras are a little like movie villains: they always pick the worst possible moment to show up and cause drama.
(Hello, wedding photos. Hello, dance floor. Hello, “why is my bra migrating south like it has vacation plans?”)
The good news: most strapless-bra slip-ups come down to a few fixable thingsfit, friction, and smart support.
In this guide, you’ll get three practical, real-life-tested ways to keep a strapless bra up comfortablywithout spending your
whole day doing the subtle shoulder shimmy that screams, “I’m fine, everything is totally normal.”
Why Strapless Bras Slip (It’s Not Always Your Fault)
A strapless bra has one main job: support your bust using the band and cup structure alone. With no straps to help, the band
has to do most of the heavy lifting. If the band is even a little too loose, the bra slowly slides downespecially with movement,
sweat, and gravity doing their daily teamwork.
Slipping is usually caused by one (or a combo) of these issues:
- Band too big or stretched out (the #1 culprit)
- Cups that don’t match your shape (gaping, cutting in, or pushing the bra down)
- Not enough “architecture” (weak elastic, no boning, narrow band, flimsy side wings)
- Low-friction skin (lotions, oils, sweat, or very smooth fabric against the band)
- Wrong bra for the outfit (some necklines and fabrics demand a different solution)
Way #1: Nail the Fit and the Bra’s “Architecture”
If your strapless bra isn’t staying up, the fix usually starts before you even leave the fitting room. A truly secure strapless
bra should feel snug (not painful), stay level around your torso, and keep your bust lifted without you thinking about it every
three minutes.
1) Prioritize the band (because the band is the boss)
With a regular bra, straps can “fake” support. With a strapless, the band must be secure enough to hold everything up on its own.
That means:
- The band should sit level all the way around (not climbing up your back).
- It should feel firmsnug enough that it won’t slide, but not so tight that breathing becomes a hobby you used to enjoy.
- Start on the loosest hooks if it’s a new bra. If it only feels secure on the tightest hooks right away, it may be too big.
Quick self-check: raise both arms overhead, then drop them. If the band shifts, slides, or you feel the bra “settle down,”
you probably need a firmer band fit or a more supportive style.
2) Use “sister sizing” strategically
Here’s a common strapless-bra reality: you might need a different size than your everyday bra, depending on the brand and design.
If your band slips but the cups fit, try going down one band size and up one cup size (a sister size) to keep cup volume similar.
Example: if you wear 34C, you might test 32D in a strapless for a more anchored band.
The goal isn’t “tight at all costs.” The goal is anchored. A strapless bra should feel like it’s hugging your ribcage,
not hanging out on it.
3) Choose strapless styles with built-in stability
Not all strapless bras are created equal. Look for features that increase grip and structure:
- Wide band and side wings (more surface area = more stability)
- Multiple hook-and-eye closures (more adjustability and support)
- Side boning (helps prevent rolling and shifting)
- Underwire or strong internal support (helps lift and distribute weight)
- Silicone or rubberized grip strips along the band edges
- Longline or bustier styles (extra coverage below the bust adds serious staying power)
Specific example: If you’re fuller-busted (say, D+ cups), a longline strapless or a structured strapless with boning
and a wider band can feel dramatically more secure than a minimal bandeau. If you’re smaller-busted, a lightly lined strapless with
grippy edges can stay put comfortably without needing industrial-strength tightness.
4) Do a “real life” movement test before committing
Try on the bra and do the things you’ll actually do while wearing it:
- Walk around and take deep breaths
- Twist side-to-side (like you’re reaching for your phone that fell behind the couch)
- Sit and stand a few times
- Lift your arms like you’re hailing a cab or celebrating good news
If the bra stays put through the test, you’re starting with the right foundation. If it fails in the fitting room, it will not
magically become loyal at a four-hour event.
Way #2: Prep Your Skin and Place the Bra Correctly
A strapless bra depends on friction. If your skin is slick, sweaty, or coated in lotion, it’s basically an ice rink for elastic.
The fix is simple: prep and positioning.
1) Skin prep: clean, dry, and product-free where the band sits
Before you put on a strapless bra (especially for a big event), do this:
- Clean the area around your ribcage where the band will sit.
- Skip lotion or body oil on the band line (apply it elsewhere if you want).
- Let everything dry fully before getting dressed.
If you’ll be in heat or humidity, consider a tiny amount of body powder or a chafe-prevention product
away from where any adhesive or silicone grip needs to stick. (You want comfort, but you also want gripdon’t sabotage your own plan.)
2) Placement: level band + “scoop and swoop” for cup support
Many strapless bras slip because they’re worn a little too low, or the bust isn’t fully settled into the cups. Try this:
- Fasten the bra, keeping the band parallel to the floor.
- Lean slightly forward and gently scoop breast tissue into the cups from the sides and underneath.
- Check the center front: it should sit comfortably against you (depending on the style) without a big gap.
What this solves: When your bust is properly seated, the cup structure can lift more effectively. If tissue is sitting
low or spilling sideways, the bra often “searches for a lower resting place,” which is a polite way of saying it slides down.
3) Plan for sweat (because physics does not RSVP)
Warm weather, dance floors, and outdoor ceremonies can reduce friction. A few practical tricks:
- Choose breathable fabrics if possible (especially in the band and wings).
- Bring a mini emergency kit: blotting paper or a small cloth, plus fashion tape if you use it.
- Put the bra on first and let it settle before you put on your dress/toprushing can lead to misalignment.
Specific example: If you’re wearing a strapless dress to an outdoor summer wedding, do a “trial run” at home:
wear the bra for an hour, move around, and see if it shifts. If it stays put in a normal day, it’s more likely to behave at the event.
Way #3: Use Smart Stay-Put Helpers (Tape, Grippers, and Upgrades)
Sometimes you do everything right and your bra still tries to escape. That’s when you bring in reinforcementstastefully, safely,
and without turning your torso into an arts-and-crafts project.
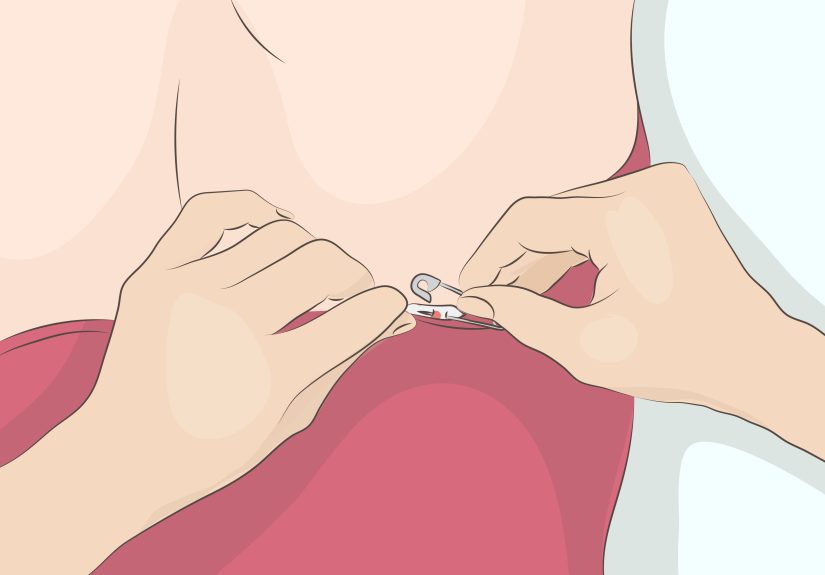
1) Fashion tape (dressing tape) for targeted security
Double-sided fashion tape can add grip between your skin and the bra band or between your bra and your clothingespecially if your outfit fabric
is slick. The key is strategic placement.
- Top edge of the band: helps prevent downward creep
- Side wings: helps stop shifting during movement
- Underband area: can help anchor the bra if it tends to slide
Safety notes (important): patch-test tape first (especially if you have sensitive skin). Don’t use tape on broken or irritated skin.
Remove slowlyusing warm water or an oil-based remover can help reduce discomfort. And please do not substitute household tape. Your skin deserves better.
2) Silicone grip liners or “bra gripper” strips
If adhesives annoy your skin, silicone grip accessories can be a gentler option. These products are designed to increase friction along the band line.
Some are built into bras; others are add-on liners you can place inside the band.
This can be a great solution when:
- You want extra grip but dislike tape
- You’re re-wearing a strapless bra that’s otherwise fine but slightly less “grippy” than it used to be
- You need a more comfortable, reusable fix
3) Upgrade the base: longline strapless, bustier, or bodysuit
If your strapless bra constantly slides, it may not be a “you” problemit may be a “this style isn’t built for your body/outfit” problem.
Consider switching to:
- Longline strapless bras (more band area below the bust = more anchoring)
- Bustiers/corsets for formalwear (structured support, smoothing, and serious staying power)
- Bodysuits with built-in strapless support (helpful under fitted dresses)
- Adhesive bras or breast tape for very tricky necklines (especially backless styles)
Specific example: A backless satin dress is a worst-case scenario for a traditional strapless bra. In that case, a low-back strapless,
an adhesive bra, or breast tape may be more practical than trying to force a standard strapless to work.
Quick Troubleshooting: If It’s Still Slipping
- The band drops when you move: try a smaller band, a more structured style, or a longline.
- The cups gape at the top: you may need a different cup shape (or a smaller cup).
- The bra feels tight but still slides: the cups may be pushing it downtry a different cup cut or adjust your sizing.
- The band rolls: look for side boning and a wider band; check that the band isn’t sitting too low.
- Everything feels “fine” but it slips by hour two: sweat and skin products may be reducing frictiontry Way #2 and Way #3 together.
Care Tips That Keep Strapless Bras Grippy and Supportive
Strapless bras work hard, and their materials can wear faster if they’re abused by heat, harsh detergent, or aggressive washing.
To keep yours supportive:
- Hand wash or use a lingerie bag on a gentle cycle.
- Avoid fabric softener (it can leave residue that reduces grip).
- Air dry (high heat can weaken elastic and damage grip materials).
- Rotate bras so the elastic can recover between wears.
Real-Life Experiences: What People Say Works (and What They Wish They’d Known)
The most common “strapless bra journey” starts with optimism, detours into mild annoyance, and ends with a personal system that feels almost suspiciously
stable. Here are experiences many wearers shareso you can skip a few chapters of trial and error.
Experience #1: “I bought my usual size and it still slid down.”
This happens a lot because many people wear a slightly-too-loose band in everyday bras (the straps quietly pick up the slack). The moment you go strapless,
that wiggle room turns into a slip-and-slide. People who solved this typically did one of two things: they tried a sister size (down a band, up a cup),
or they switched to a strapless bra with a wider band and stronger side wings. The biggest “aha” moment is realizing a strapless bra should feel firmer
right awaysecure, not suffocating. Once the band truly anchors, the constant tugging stops.
Experience #2: “It stayed up… until I started sweating.”
Weddings, summer concerts, and crowded indoor parties are where strapless bras go to test your patience. People often report that a bra that felt perfect
at home started drifting after an hour in heat. The fix that comes up again and again is skin prep plus a backup plan: skip lotion on the
band line, let the skin fully dry, and keep a small strip of fashion tape available. Some also prefer longline strapless styles for hot days because the
extra surface area spreads the pressure and improves stability when friction drops.
Experience #3: “My cups looked fine, but the bra kept inching down.”
This is often a shape mismatch rather than a size issue. For example, if someone needs more projection (or a different cup cut) but the cup is too shallow,
the bust can push the bra downlike the cups are politely suggesting, “We are not built for this assignment.” People who fixed this usually tried a different
strapless style: seamed cups instead of molded, a balconette cut instead of a straight bandeau, or a bra with stronger internal support. The takeaway:
the right size in the wrong shape still won’t behave.
Experience #4: “Tape saved me, but removal was not glamorous.”
Fashion tape can be a hero, especially for formalwear, but people often wish they’d patch-tested first and learned how to remove it gently. The best results
come from using small pieces placed where they matter (top edge, sides), not wrapping tape everywhere. Many also recommend removing tape slowly and using warm
water or an oil-based remover to reduce discomfort. In other words: tape is a helpful assistant, not a full-time lifestyle.
Experience #5: “I gave up and switched solutionsand it was the right call.”
Sometimes the win is knowing when to stop fighting. For backless outfits or very delicate fabrics, many people report better results with adhesive bras,
breast tape, or bodysuits designed for the dressrather than forcing a standard strapless bra to do gymnastics. The confidence boost is real when you choose a
support method that matches the outfit’s engineering instead of working against it.
The overall pattern in these experiences is surprisingly consistent: when people focus on band fit, structure, and
friction (plus one smart helper when needed), strapless bras stop being a “constant adjustment” situation and start being… just a bra.
Which is the dream, honestly.
Conclusion
Keeping a strapless bra up doesn’t require magicjust a better strategy. Start with the right fit and supportive design (wide band, boning, grip strips),
prep your skin and position the bra correctly, and use targeted helpers like fashion tape or silicone grip liners when you need extra security.
Once you build your strapless system, you can focus on your outfitnot your underwire’s desire to relocate.


