Table of Contents >> Show >> Hide
- Why This Chocolate-Peanut-Butter Cheesecake Works
- Ingredients
- Equipment
- Chocolate Peanut Butter Cheesecake Recipe
- Step 1: Prep the pan and oven
- Step 2: Make and pre-bake the Oreo crust
- Step 3: Mix the filling (smooth, not fluffy)
- Step 4 (Optional): Add a chocolate swirl
- Step 5: Choose your gentle-bake method
- Step 6: Bake until set edges + a confident center jiggle
- Step 7: Cool slowly (this is where cheesecake success lives)
- Step 8: Make ganache and finish
- Pro Tips for Crack-Free, Creamy Cheesecake
- Flavor Variations
- Make-Ahead, Storage, and Freezing
- FAQ
- Conclusion
- Kitchen Stories & Real-World Cheesecake Experiences
If dessert had a “power couple,” chocolate and peanut butter would be walking the red carpet in matching outfits.
Now picture them moving into a cheesecakerich, creamy, and dramatic in the best waythen inviting an Oreo crust and
a glossy chocolate ganache to the party. That’s this chocolate peanut butter cheesecake recipe:
indulgent enough for birthdays, easy enough for “I had a day” Tuesdays, and guaranteed to make your fridge feel like it’s
doing important work.
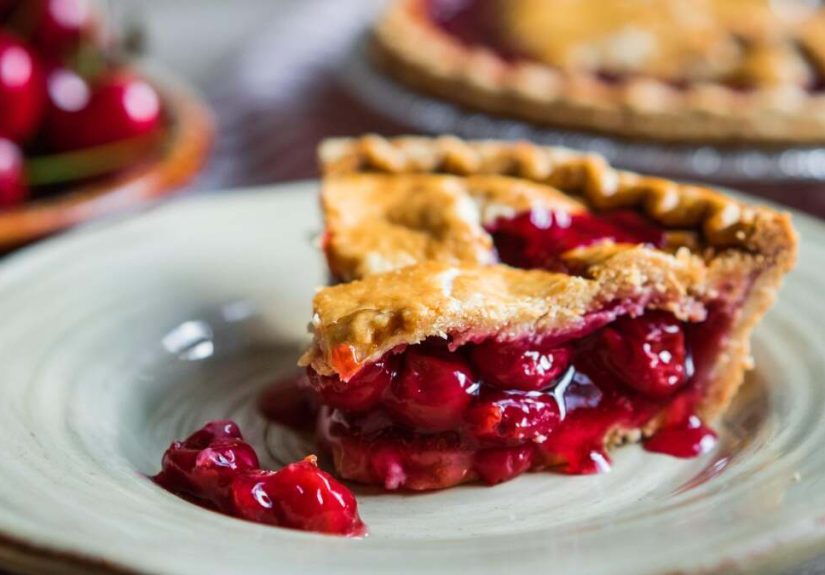
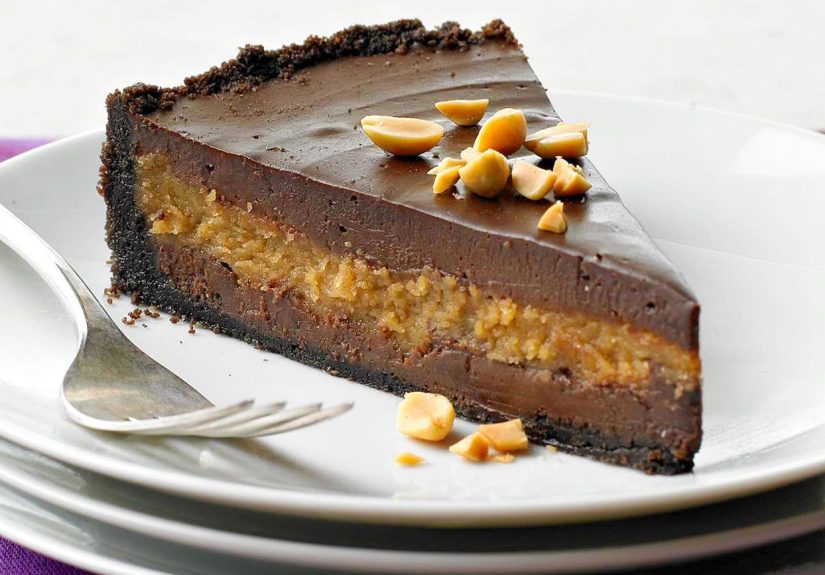
This is a classic baked cheesecake with a chocolate cookie crust, a peanut-butter-forward filling, and a ganache top that
looks fancy even if you’re wearing sweatpants. You’ll also get practical tips for a crack-free bake, clean slices, and
easy variationsbecause the best recipes don’t just taste good, they behave.
Why This Chocolate-Peanut-Butter Cheesecake Works
- Chocolate cookie crust adds crunch and keeps the vibe firmly in “peanut butter cup cheesecake” territory.
- Peanut butter + cream cheese delivers richness, while sour cream adds tang so it doesn’t taste like a sugar brick.
- Gentle baking (water bath or steam method) helps prevent cracks and keeps the texture silky.
- Chocolate ganache topping makes every slice look bakery-leveland covers tiny imperfections like an edible Instagram filter.
Ingredients
For the best texture, go full-fat. Cheesecake is not the place to get minimalist. Save that energy for your sock drawer.
For the Oreo cookie crust
- 24 Oreo cookies (or other chocolate sandwich cookies), finely crushed
- 5 tablespoons unsalted butter, melted
- 1 tablespoon granulated sugar (optional, for extra crunch)
- Pinch of salt
For the peanut butter cheesecake filling
- 32 ounces (4 blocks) full-fat cream cheese, room temperature
- 1 cup granulated sugar
- 1 cup creamy peanut butter (see FAQ before using natural-style)
- 3/4 cup sour cream, room temperature
- 1/3 cup heavy cream, room temperature
- 1 tablespoon vanilla extract
- 1/2 teaspoon fine salt
- 3 large eggs, room temperature
- 1 large egg yolk (optional, for extra richness)
Optional chocolate swirl (recommended for maximum “wow”)
- 4 ounces semisweet chocolate, melted and slightly cooled
- 1 tablespoon unsweetened cocoa powder (optional, deeper chocolate note)
For the chocolate ganache
- 8 ounces semisweet or bittersweet chocolate, finely chopped
- 3/4 cup heavy cream
- 2 tablespoons creamy peanut butter (optional, “peanut butter cup” ganache)
Optional toppings
- Chopped peanut butter cups (mini cups look extra cute)
- Chopped roasted peanuts
- Whipped cream
- Warm peanut butter for drizzling
Equipment
- 9-inch springform pan
- Stand mixer or hand mixer
- Rubber spatula (the “scrape the bowl” hero)
- Roasting pan (for a water bath) or an oven-safe skillet (for the steam method)
- Heavy-duty aluminum foil (if using a water bath)
- Instant-read thermometer (optional, but oddly comforting)
Chocolate Peanut Butter Cheesecake Recipe
Step 1: Prep the pan and oven
Preheat your oven to 325°F. Grease a 9-inch springform pan and line the bottom with parchment paper.
(This is the difference between “effortless release” and “why is my crust emotionally attached to the pan?”)
Step 2: Make and pre-bake the Oreo crust
Mix crushed Oreos, melted butter, sugar (if using), and salt until it looks like wet sand.
Press firmly into the bottom and about 1 inch up the sides of the pan (use the bottom of a measuring cup for maximum
compression).
Bake for 8–10 minutes, then set aside to cool while you make the filling.
Pre-baking helps keep the crust crisp instead of turning into a soft chocolate sponge.
Step 3: Mix the filling (smooth, not fluffy)
Beat the cream cheese on medium-low until smooth, about 1–2 minutes. Add sugar and beat just until combined.
Scrape the bowl and beaters.
Add peanut butter, sour cream, heavy cream, vanilla, and salt. Mix on low until smooth.
Cheesecake batter should be creamy and cohesivenot whipped like you’re trying to make it float.
Add eggs one at a time on low speed, mixing just until each disappears. Add the yolk last if using.
Overmixing adds air; air expands; expanded air makes cracks like it’s auditioning for a soap opera.
Step 4 (Optional): Add a chocolate swirl
Stir melted chocolate (and cocoa powder, if using) into about 1 to 1½ cups of batter.
Pour the plain batter into the crust, dollop chocolate batter on top, then swirl gently with a knife.
Think “marble countertop,” not “category-5 hurricane.”
Step 5: Choose your gentle-bake method
Option A: Classic water bath (most foolproof)
Wrap the outside of the springform pan with 2–3 layers of heavy-duty foil to prevent leaks.
Place it in a roasting pan. Carefully pour hot water into the roasting pan until it reaches about halfway up the sides
of the springform pan.
Option B: Steam method (simpler, less leak anxiety)
Place an oven-safe skillet or pan of hot water on the rack beneath the cheesecake.
You’ll still get a moist oven environment and gentler baking without the “will water sneak into my crust?” suspense.
Step 6: Bake until set edges + a confident center jiggle
Bake at 325°F for 65–80 minutes. The edges should be set and slightly puffed, while the center
should still jiggle in a small circle (about 2–3 inches across). If you use a thermometer, aim for
150–155°F in the center; carryover heat finishes the job as it cools.
Step 7: Cool slowly (this is where cheesecake success lives)
Turn off the oven, crack the door open, and let the cheesecake cool inside for 45–60 minutes.
If you used a water bath, remove the pan carefully and peel away foil once it’s safe.
Cool at room temperature for another 30–60 minutes.
Refrigerate uncovered for 1 hour (to avoid condensation), then cover and chill for at least 6 hours.
Overnight is best. Cheesecake is patient. Be like cheesecake.
Step 8: Make ganache and finish
Heat the heavy cream until steaming (not boiling). Pour over chopped chocolate and let sit 2 minutes, then whisk until glossy.
Whisk in peanut butter if you want a softer, peanut-butter-cup-style ganache.
Pour ganache over the fully chilled cheesecake and spread gently to the edges. Chill 30–60 minutes to set,
then add toppings if you’re going for maximum drama (and maximum compliments).
Pro Tips for Crack-Free, Creamy Cheesecake
- Start with room-temp ingredients: Fewer lumps means less mixing, and less mixing means fewer cracks.
- Scrape the bowl often: Lumps hide on the bottom like they’re dodging responsibilities.
- Keep the mixer on low after eggs: Air bubbles expand and can cause splitting or cracking.
- Don’t overbake: Cheesecake is a custard; it sets as it cools and chills.
- Try “pan-in-pan” insurance: Put the springform pan inside a slightly larger cake pan, then place that inside the roasting pan with water. It reduces leak risk.
- Slice like a pro: Dip a knife in hot water, wipe dry, slicerepeat for clean edges.
Flavor Variations
1) Reese’s-style loaded topping
Fold 1 cup chopped peanut butter cups into the batter. Top the ganache with more cups and chopped peanuts.
It’s not subtle. That’s the point.
2) Extra-bold chocolate swirl
Want more chocolate in every bite? Use 6 ounces melted chocolate for the swirl and add 2 tablespoons cocoa powder.
The slices will look like they came from a fancy bakery that charges for “ambiance.”
3) Cheesecake bars (easier serving, faster chill)
Press the crust into a parchment-lined 9×13-inch pan, bake briefly, then spread filling and bake until slightly set.
Chill and cut into bars for parties, potlucks, and any situation where forks are optional.
4) No-bake shortcut (when the oven is emotionally unavailable)
Make an Oreo or graham cracker crust. Beat cream cheese with peanut butter and sweetened condensed milk,
fold in whipped cream, chill until firm, and top with ganache or chocolate syrup.
You still get the chocolate-peanut-butter payoffwithout turning on the oven.
Make-Ahead, Storage, and Freezing
- Make-ahead: Cheesecake is best after an overnight chill. Make it 1–2 days early for peak texture and flavor.
- Storage: Keep covered in the fridge. Cheesecake should stay cold for best quality (and food safety).
- Freezing: Freeze whole or sliced. Wrap tightly in plastic, then foil. Freeze up to 1 month for best quality; thaw overnight in the fridge.
FAQ
Do I really need a water bath?
It’s not mandatory, but it helps the cheesecake bake gently and evenly. If water baths stress you out,
use the steam method and watch closely near the end so it doesn’t overbake.
Can I use natural peanut butter?
Natural peanut butter can separate and make the filling less stable. If you use it, stir thoroughly until fully smooth,
and consider reducing heavy cream by 1–2 tablespoons. Expect a slightly softer set.
How do I tell if it’s done without a thermometer?
Do the jiggle test. The edges should be set, but the center should wobble slightly in a small circle.
If the whole cheesecake ripples, it needs more time.
What if it cracks anyway?
First: it still tastes incredible. Second: ganache is basically edible spackle.
Spread it on top, add toppings, and call it “rustic.” People will nod like they understand art.
Conclusion
This chocolate peanut butter cheesecake recipe is the sweet spot between show-stopping and doable.
You get bold peanut butter flavor, deep chocolate from the Oreo crust and ganache, and a creamy, smooth texture that
tastes like a luxury spa day for your fork. Make it for a celebration, bring it to a potluck, or keep it in your fridge for
“quality control.” (We won’t tell.)
Kitchen Stories & Real-World Cheesecake Experiences
Most people don’t fear cheesecake because it’s hard. They fear it because cheesecake has opinions.
It wants room-temperature cream cheese. It wants you to stop mixing at the exact moment the batter turns smooth.
It wants a slow cool-down like it just finished a yoga class. The good news: once you understand what cheesecake is
trying to say, it becomes one of the most reliable “fancy” desserts you can make.
The Great Peanut Butter Panic: Someone always asks, “Can I use the peanut butter that separated in the jar?”
Technically yesif you stir it until your arm files for overtime. In practice, stabilized creamy peanut butter is the easiest route
to a filling that sets reliably and slices cleanly. Cheesecake already asks you for patience; you don’t need to add
extra chaos unless that’s your hobby.
The Overmixing Trap: The batter looks a little lumpy, so the mixer goes to high speed. The batter becomes silky.
Everyone feels proud. Then the cheesecake puffs, sinks, and cracks like it’s reenacting a tiny soap opera.
The fix is counterintuitive: soften your ingredients properly, mix on lower speed, and scrape the bowl often.
Lumps are usually a temperature problem, not a “you didn’t mix hard enough” problem.
Water Bath Mythology, Reframed: A water bath isn’t magic; it’s gentle heat insurance.
It buffers the cheesecake from harsh oven heat and adds moisture so the custard sets gradually instead of tightening too fast.
If you’ve ever worried about leaks (or you’ve ever carried a roasting pan like it was a tray of live fireworks), the steam method
is a great compromise. You still get a moist oven and gentler baking, but you skip the moment where water can sneak into your pan
and turn your crust into pudding. The tradeoff is that it’s slightly less consistent than a full water bathso watch the last
15 minutes and trust the jiggle test.
The “It’s Still Jiggly!” Moment: Almost every first-timer has this moment.
The cheesecake looks set… except the center wobbles. That wobble is not underbaked doom; it’s a promise of creamy texture
once chilled. If you bake until there’s no movement at all, you’re usually heading toward a drier slice.
Cheesecake is a custard. Custard sets as it cools. Let it do its thing.
Slicing Like a Grown-Up: The first slice is always the messiest, which is why it’s also the baker’s slice.
A hot knife makes a shocking difference: dip, wipe, slice, repeat. If your ganache drags, it’s usually a temperature issue
chill a bit longer or warm the knife a bit more. And if a slice leans? Congratulations, you’ve made it “artisanal.”
The Best Part: Chocolate-peanut-butter cheesecake is a guaranteed crowd-pleaser because it tastes familiar
even when it looks impressive. People recognize the flavor combo instantly, and suddenly you’re the person who “makes cheesecake,”
which is an identity upgrade that costs less than therapy. Keep a version of this recipe in your back pocket, and you’ll always have
a dessert that feels like a celebrationwhether the celebration is a birthday, a holiday, a dinner party, or simply surviving Monday
and treating yourself like a functional adult. Either way, your fork wins.