Table of Contents >> Show >> Hide
- What You’ll Learn
- Ingredients for Classic Cut-Out Sugar Cookies
- Tools You’ll Want (No Fancy Stuff Required)
- Step-by-Step: How to Make Sugar Cookies (With Photos)
- Step 1: Whisk the dry ingredients
- Step 2: Cream butter and sugar (but don’t overdo it)
- Step 3: Add egg, yolk, and vanilla
- Step 4: Mix in the dry ingredients gently
- Step 5: Divide, flatten, and chill
- Step 6: Preheat oven and prep pans
- Step 7: Roll the dough evenly (the “secret” step)
- Step 8: Cut shapes and transfer
- Step 9: Chill the cut-outs (yes, again)
- Step 10: Bake (watch color, not the clock)
- Step 11: Cool completely
- Step 12: Decorate (or don’tplain cookies deserve respect)
- Easy Icing Options (Choose Your Adventure)
- Troubleshooting: When Cookies Get Dramatic
- How to Store and Freeze Sugar Cookies
- Extra: Real-Life Sugar Cookie Experiences (So You Feel Less Alone)
- Final Thoughts
Sugar cookies look innocentjust butter, sugar, flour, and good vibes. But the difference between
“wow, these are bakery-level” and “why do these taste like sweet cardboard?” comes down to a few
small, totally learnable moves.
This tutorial walks you through a dependable, classic sugar cookie method (cut-outs that hold their shape),
explains why each step matters, and shows exactly what to photograph along the way so your post
looks like a glossy cookbook spreadeven if your kitchen lighting is “overhead interrogation bulb.”
Ingredients for Classic Cut-Out Sugar Cookies
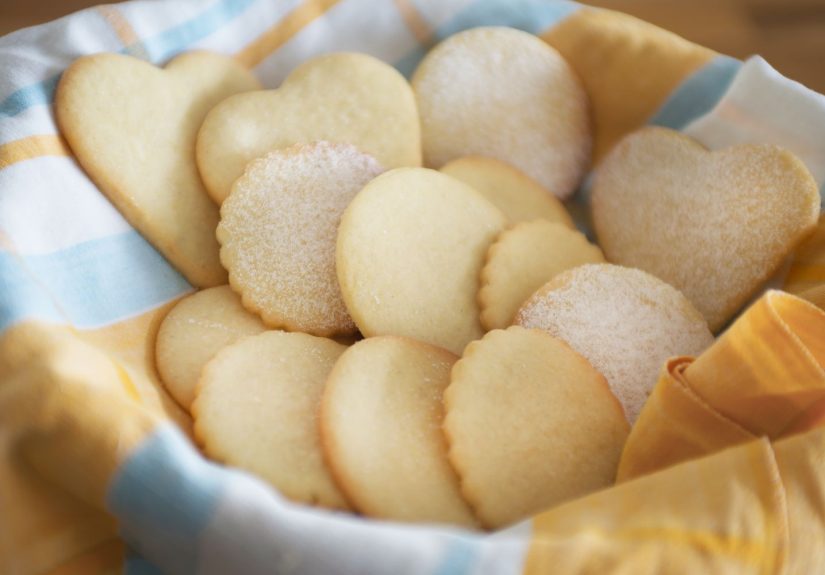
This recipe is designed for cut-out sugar cookies: crisp edges, tender center, minimal spread,
and a flat surface that’s basically a tiny edible canvas.
Cookie Dough Ingredients
- All-purpose flour (about 3 cups / 360g), plus extra for dusting
- Baking powder (1 tsp) for a gentle lift (not a puffy biscuit situation)
- Fine salt (1/2 tsp) to keep the flavor from being “sweet… and only sweet”
- Unsalted butter (1 cup / 2 sticks / 226g), cool room temp
- Granulated sugar (1 cup / 200g)
- 1 large egg + 1 egg yolk (for tenderness and richness)
- Vanilla extract (2 tsp)
- Optional flavor boost: 1/4 tsp almond extract or 1–2 tsp citrus zest
Why these ingredients work
Sugar cookies are simple enough that every ingredient has a job. Flour provides structure, butter provides
flavor and tenderness, sugar helps with spread and crispness, and eggs bind it together. Baking powder adds
just enough lift for a pleasant bite, while salt keeps everything from tasting one-note.

Tools You’ll Want (No Fancy Stuff Required)
- Mixing bowl (or stand mixer/hand mixer)
- Rubber spatula (the MVP of scraping)
- Measuring cups/spoons or a kitchen scale (best accuracy)
- Rolling pin
- Parchment paper (for easy rolling + less floury mess)
- Cookie cutters
- Baking sheets
- Wire rack for cooling
If you only upgrade one thing: use parchment. Rolling dough between sheets is cleaner, easier, and helps keep
your cookies tender because you won’t keep adding extra flour.

Step-by-Step: How to Make Sugar Cookies (With Photos)
Plan for about 2 to 3 hours total, mostly because chilling dough is the cookie equivalent of
letting a movie buffer: annoying, but it prevents heartbreak later.
Step 1: Whisk the dry ingredients
In a bowl, whisk together the flour, baking powder, and salt. This spreads the leavening evenly so you don’t
get random “one cookie is tall and the others are sleepy” results.

Step 2: Cream butter and sugar (but don’t overdo it)
Beat butter and sugar on medium speed until combined and slightly fluffy, about 1–2 minutes. You’re not trying
to whip in a ton of air; too much aeration can encourage spreading and uneven texture.

Step 3: Add egg, yolk, and vanilla
Beat in the egg, then the yolk, then vanilla (and optional flavorings like zest or almond extract). Scrape the
bowl so everything mixes evenly. This is where the dough starts smelling like a holiday candlein a good way.

Step 4: Mix in the dry ingredients gently
Add the dry ingredients in 2–3 additions and mix on low just until no flour pockets remain. Overmixing develops
gluten, which can make cookies tougher. Sugar cookies should snap a little, not fight back.

Step 5: Divide, flatten, and chill
Divide the dough into two portions. Flatten each into a disk (about 1 inch thick), wrap tightly, and chill at
least 1 hour (or up to 2–3 days). Chilling firms the butter, hydrates flour, improves handling, and helps cookies
keep their shape.

Step 6: Preheat oven and prep pans
Preheat to 350°F (or 375°F if your preferred recipe runs hottereither can work depending on
thickness and desired browning). Line baking sheets with parchment.

Step 7: Roll the dough evenly (the “secret” step)
Let chilled dough sit 5–10 minutes so it rolls without cracking. Roll to about 1/4 inch thick
for sturdy cut-outs (thinner = crispier and more delicate; thicker = softer but longer bake). For easiest rolling,
place dough between two sheets of parchment and roll it out there.

Step 8: Cut shapes and transfer
Dip cookie cutters in flour so they release cleanly. Cut shapes close together (these cookies shouldn’t spread
much). Use a thin spatula to lift shapes if needed. Place on the prepared sheet with about 1 inch of space.

Step 9: Chill the cut-outs (yes, again)
Pop the tray of cut cookies into the fridge for 10–15 minutes. This quick re-chill helps edges stay sharp once
the heat hits. Think of it as giving the dough a pep talk: “Stay in shape. You got this.”

Step 10: Bake (watch color, not the clock)
Bake for 8–11 minutes depending on thickness and oven, rotating the pan halfway through if your
oven bakes unevenly. You want edges set and just barely turning golden. Overbaking is the fastest route to
“beautiful but crunchy in a sad way.”

Step 11: Cool completely
Let cookies cool on the sheet 2–3 minutes, then transfer to a wire rack. They firm as they cool. If you ice warm
cookies, the icing will melt and slide off like it’s escaping.

Step 12: Decorate (or don’tplain cookies deserve respect)
Once fully cool, decorate with glaze, buttercream, or royal icing. If you’re using sprinkles without icing,
brush cookies lightly with water or corn-syrup glaze so sprinkles stick.

Easy Icing Options (Choose Your Adventure)
Option A: Quick Glaze (fast, shiny, beginner-friendly)
In a bowl, whisk 1 1/2 cups powdered sugar with 2–3 tbsp milk (or water) and
1/2 tsp vanilla. Add liquid slowly until it ribbons off the whisk and settles in ~10 seconds.
Tint with gel food coloring if desired.
Best for: casual cookies, minimal tools, “I want pretty but I also want to live my life.”
Option B: Royal Icing (the classic for detailed designs)
Royal icing dries firm, so cookies stack and travel well. Make it with either pasteurized egg whites or meringue
powder. Aim for two consistencies:
- Pipe consistency: thicker for outlines
- Flood consistency: slightly thinner to fill
Let decorated cookies dry at room temperature until the surface is firmanywhere from 1 hour to overnight,
depending on icing thickness and humidity.

Decoration tips that actually help
- Outline first, flood second: prevents runaway icing puddles.
- Use gel colors: less liquid added, better control.
- Sprinkles go on immediately: icing sets fast on top.
- Let layers dry: if you’re adding details on top, patience pays.
Troubleshooting: When Cookies Get Dramatic
Dough is sticky
Chill longer, and roll between parchment. Use a light dusting of flournot a blizzard. Sticky dough often means
butter warmed too much or the kitchen is warm.
Dough is cracking while rolling
Let it sit 5–10 minutes to soften slightly, then try again. Cracking usually means it’s too cold or too dry.
Cookies spread and lose shape
Common causes: dough too warm, butter too soft, over-creamed butter/sugar, or too much leavening. Re-chill cut
cookies before baking and consider rolling slightly thicker.
Cookies are hard
Usually overbaking or too much flour. Watch the edges: pull them when edges are set and barely colored.
If you scoop flour with the cup, you may accidentally pack ittry spoon-and-level or a scale.
Cookies taste “flat”
Add a pinch more salt (seriously), use good vanilla, and consider a flavor accent like citrus zest. Chilling
dough longer can also deepen flavor.
How to Store and Freeze Sugar Cookies
Storing baked cookies
Store plain cookies airtight at room temperature for about a week. If iced with royal icing, let icing dry fully
before stacking; place parchment between layers.
Freezing dough
Wrap dough disks well and freeze up to 2–3 months. Thaw overnight in the fridge, then let sit a few minutes at
room temp before rolling.
Freezing baked cookies
Freeze fully cooled, undecorated cookies in airtight containers with parchment between layers. Thaw at room temp.
Decorate after thawing for best appearance.
Extra: Real-Life Sugar Cookie Experiences (So You Feel Less Alone)
If you’ve ever made sugar cookies and thought, “Why is this so stressful? It’s literally flour and butter,”
welcome to the club that meets annually in December and snacks aggressively.
One of the most common experiences is the temperature tug-of-war. The dough behaves beautifully
when it’s cool: it rolls cleanly, cutters release like a dream, and shapes transfer without turning into modern
art. Then, the moment you feel confident, the dough warms up and suddenly it’s sticking to everythingrolling
pin, counter, your patience. That’s not you failing; that’s butter doing butter things. The “fix” is boring but
effective: work in smaller portions, keep the rest chilled, and don’t be shy about a quick fridge break for the
tray of cut-outs. You’re not procrastinating. You’re “managing dough conditions.”
Another very real moment: the flour creep. You start with a light dusting, then add a little
more because the dough sticks, then add a little more because now the rolling pin sticks, then suddenly you’ve
introduced enough flour to qualify as a small baking aisle. The cookie dough starts feeling tougher, and the
baked cookies lose that tender bite. This is why rolling between parchment is such a game-changer: you can keep
extra flour to a minimum and still roll smoothly. If you do need flour, think “whisper,” not “snowstorm.”
Then there’s the cookie-cutter production line experience, especially if you’re baking with
kids, friends, or anyone who thinks “decorating” means “apply sprinkles until gravity gives up.” Someone will
cut 47 stars. Someone will insist on one cookie shaped like a dinosaur (even if it’s a snowflake set). Someone
will ask if you can make the icing “more sparkly,” which is code for “hand me the entire jar of edible glitter.”
The best approach is to lean into the chaos: set up a decorating station with a few color options, put sprinkles
in small bowls (portion control, but make it cute), and accept that at least one cookie will be iced in a way
that defies geometry.
A quieter but equally common experience is the perfection spiral. Sugar cookies are flat,
pale, and simpleso every tiny flaw feels obvious. A slightly uneven edge. A corner that rounded off. A cookie
that browned more than the others because it sat on the “hot spot” of your baking sheet. Here’s the truth: most
people don’t want perfect cookies. They want cookies that look homemade in the best waycharming, generous,
and clearly made by a human with a real oven. Plus, once you add icing or sugar, tiny imperfections disappear.
Even pros rely on tricks: chilling, parchment, and smart timing. “Perfect” is mostly technique and repetition,
not magic.
Finally, the best experience: the day-after cookie. Many bakers notice sugar cookies taste even
better after resting overnight in an airtight container. The texture settles, the vanilla and butter flavor feel
rounder, and iced cookies are easier to stack and share once the icing has fully set. If you’re making cookies
for an event, baking a day early isn’t just convenientit’s strategic. It turns cookie stress into cookie calm.
So if your first batch isn’t flawless, that’s normal. Sugar cookies are a practice recipe: each round teaches
you something small (your oven runs hot, your dough likes a longer chill, your ideal thickness is 1/4 inch, not
“whatever my arm feels like”). And that’s kind of the point. You’re not just making cookiesyou’re building the
kind of kitchen confidence that shows up in every dessert after this.


